Google Slides is a fantastic tool for crafting visually compelling presentations, but what if you could truly make your message resonate? Adding your voice to your slides transforms a static presentation into an engaging, dynamic experience, guiding your audience through your content with clarity and personality. As a long-time audio enthusiast and a content creator for Ukrbl.com, I’ve seen firsthand how high-quality voiceovers can elevate a good presentation to a great one. Let’s dive into how you can effectively use a Voice Recorder For Google Slides, turning your ideas into an audible journey.
Why Add Your Voice to Google Slides?
Bringing your voice into your Google Slides presentations offers a myriad of benefits that go beyond simple visuals. Firstly, it dramatically enhances engagement. A narration keeps your audience captivated, much like a podcast or an audiobook, preventing them from passively skimming through text. Secondly, voiceovers improve clarity, especially when explaining complex topics. You can elaborate on points that might be too lengthy for a slide, ensuring every nuance of your message is understood. Think of it as having a personal guide for your audience. Finally, adding audio boosts accessibility, making your presentations more inclusive for individuals with visual impairments or those who prefer auditory learning. It’s about creating a richer, more impactful communication experience for everyone.
Understanding Google Slides’ Audio Capabilities (and Limitations)
Here’s the honest truth from someone who’s been in the audio game for over 15 years: Google Slides, while powerful, doesn’t have a direct, built-in voice recorder for creating individual audio files for each slide. Many users hope to simply click a “record” button within the application and narrate slide by slide, but that functionality isn’t natively available for separate audio tracks.
However, there’s a nuanced feature worth noting: some Google Workspace editions offer a “Record slideshow” option. This tool allows you to capture your entire presentation as a video, complete with your microphone audio and even your camera feed. It’s fantastic for creating a self-contained video presentation, but it’s crucial to understand this produces a single video file, not individual audio files you can precisely place and control per slide. This feature is typically accessed in Chrome or Edge browsers and usually has a 30-minute recording limit.
For adding distinct voiceovers or sound effects to individual slides, you’ll need to use an external voice recorder. Once your audio is captured, Google Slides is ready to integrate it seamlessly. It supports two primary audio file formats:
- MP3 (MPEG Audio Layer-3): This is your go-to format for most voiceovers. MP3s offer excellent compression, resulting in smaller file sizes without significant loss in perceived quality. This is ideal for quick loading times and broad compatibility across devices and internet connections.
- WAV (Waveform Audio File Format): WAV files are uncompressed, offering pristine, studio-quality sound. While they provide the highest fidelity, their larger file sizes can sometimes lead to longer upload times and potential playback issues on slower networks. Use WAV when audio quality is absolutely paramount and file size isn’t a concern.
Google Slides generally does not support other common formats like M4A, AAC, FLAC, OGG, WMA, or AIFF. So, if your recording software exports in one of these, you’ll need to convert it to MP3 or WAV before uploading.
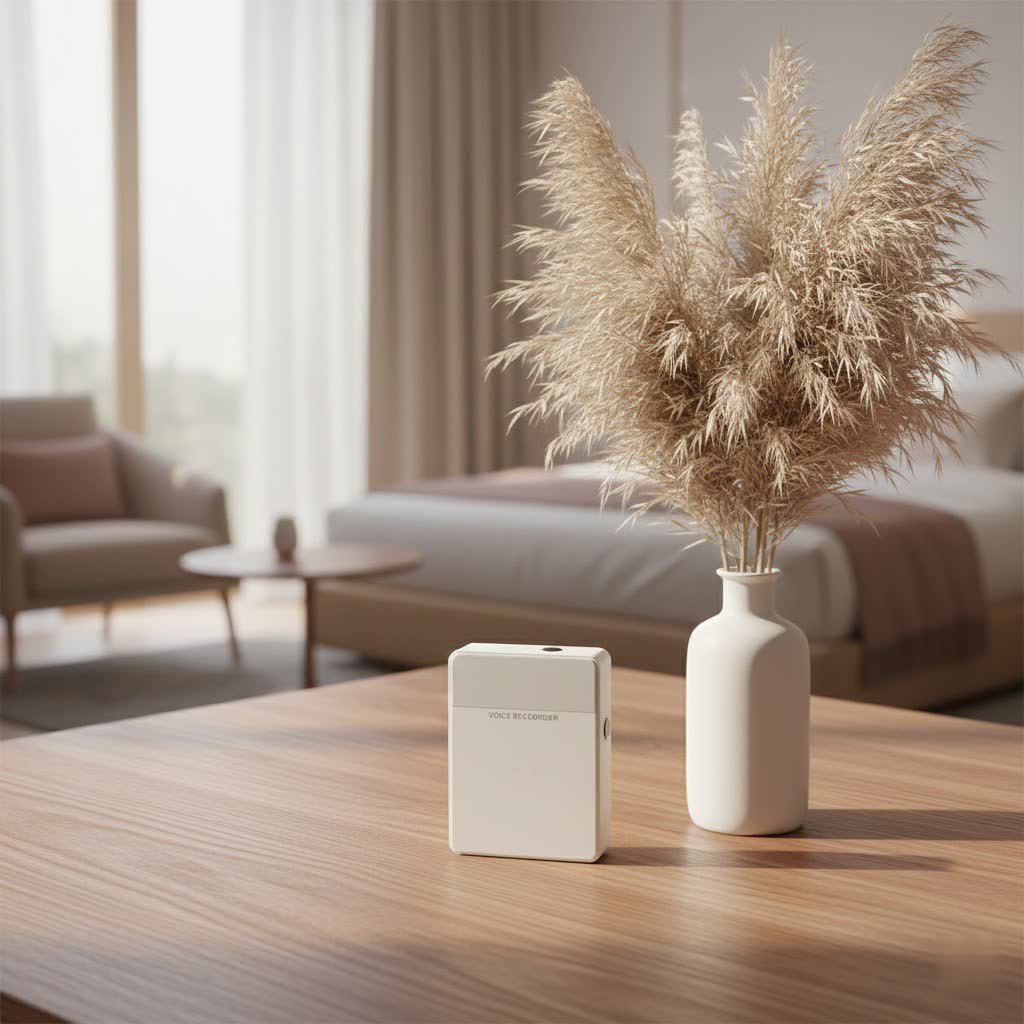
Choosing Your Voice Recorder: Top Tools for Google Slides
Since Google Slides requires external audio, selecting the right recording tool is your first critical step. The market is full of options, from simple web-based solutions to professional-grade desktop software.
- Online Voice Recorders: For quick and hassle-free recording, online tools are a lifesaver. Websites like Online Voice Recorder offer instant recording directly through your browser, often with basic editing capabilities. They are ideal for short narrations when you don’t want to download any software.
- Desktop Software:
- Audacity: A free, open-source audio editor available for Windows, macOS, and Linux. Audacity is incredibly versatile, offering robust recording and editing features, including noise reduction, equalization, and multi-track capabilities. It’s perfect for those who want more control over their sound quality.
- GarageBand (Mac only): If you’re on a Mac, GarageBand is a powerful and intuitive digital audio workstation (DAW) that comes pre-installed. It’s excellent for recording voice, adding effects, and even mixing background music.
- Windows Sound Recorder: A built-in option for Windows users, this simple tool can capture basic audio, but offers limited editing features. It’s good for quick, unedited clips.
- Chrome Extensions/Dedicated Apps:
- ChromeMP3 Recorder: A convenient Chrome extension that allows you to record audio directly within your browser and save it as an MP3, often with direct-to-Google Drive upload options.
- Notta/Riverside: For more advanced users or those needing transcription services, tools like Notta (an AI meeting notetaker) or Riverside (a high-quality audio and video recording platform) offer superior sound capture and additional features, making them excellent choices for professional voiceovers.
“Choosing the right voice recorder is like choosing the right microphone for a singer,” says Dr. Anya Petrova, Lead Audio Engineer at Ukrbl.com. “It’s not just about capturing sound; it’s about capturing your message with clarity and impact. Invest a little time in finding a tool that matches your needs and comfort level.”
Your Step-by-Step Guide to Adding Voice to Google Slides
Now that you understand the tools, let’s walk through the exact process to integrate your voice seamlessly into your Google Slides presentations.
Step 1: Record Your Audio (The Right Way)
|
Our Picks for the Best Voice Recorder in 2026
As an Amazon Associate I earn from qualifying purchases.
|
||
| Num | Product | Action |
|---|---|---|
| 1 | AI Digital Voice Recorder 128GB: AI Transcribe & Summarize Voice Activated Recorder with Playback - OTG - Portable Tape Recorder for Meeting & Lectures |

|
| 2 | 132G (9800 Hour) Voice Activated Recorder - Elasound Voice Recorder with AI-Intelligent Triple Noise Reduction, Portable Audio Recorder for Work, Lectures, Meetings, 100H Continuous Recording Device |
|
| 3 | 128GB Digital Voice Recorder for Lectures Meetings - EVIDA 9296 Hours Voice Activated Recording Device Audio Recorder with Playback,Password |
|
| 4 | 128GB Voice Recorder - ZIPCIDE Digital Voice Activated Recorder with Intelligent Noise Reduction, Professional Dictaphone Tape Recording Device with Playback for Lectures Meeting/Classes/Interview |
|
| 5 | Magnetic Voice Activated Recorder - (7000 Hours) Voice Recorder with DSP 5.0-AI Noise Cancellation - 64GB Portable Recording Device, Voice Recorder with Playback for Work, Meetings, Lectures |
|
| 6 | Digital Voice Recorder 16GB Voice Recorder with Playback for Lectures - USB Rechargeable Dictaphone Upgraded Small Tape Recorder Device |
|
| 7 | soundcore Work by Anker, Portable Al Voice Recorder, AI Note Taker, Al Transcription & Summarization, 6-Month Pro at No Charge, Cross-Meeting Summary, MFi Certified, Privacy Protection, Black |
|
| 8 | 64GB Digital Voice Recorder with Playback: Voice Activated Recorders for Lectures Meetings Interviews - EVISTR Dictaphone Recording Device Tape Recorder Portable Mini, Audio Recorder with USB, MP3 |
|
| 9 | Digital Voice Recorder with Playback Recording Device with Screen & AI Noise Cancellation MP3 Player, 1600H Recording, Auto-Save for Meetings, Lectures, Interviews (128, GB) |
|
| 10 | Sony ICD-UX570 Digital Voice Recorder, ICDUX570BLK, usb |
|
This is where the magic happens, and a little preparation goes a long way.
- Script It Out: Even if you’re a natural speaker, having a script or at least bullet points for each slide’s narration ensures you stay on topic, maintain a consistent pace, and don’t ramble.
- Find Your Quiet Zone: Background noise is the enemy of clear audio. Find a quiet room, close windows, turn off fans, and mute notifications. Recording in a space with soft furnishings (like curtains or carpet) can help reduce echoes.
- Use a Good Microphone: While your laptop’s built-in mic can work, an external USB microphone (even an affordable one) will significantly improve your audio quality. Position it about 6-8 inches from your mouth, slightly off-center to avoid harsh “p” and “b” popping sounds.
- Practice and Test: Do a few test recordings. Listen back to check your volume levels, clarity, and overall tone. Adjust your mic placement or software settings as needed.
- Save in Compatible Format: Once recorded, save your audio file as an MP3 (recommended 128-192 kbps mono for smaller size and good quality) or WAV.
Step 2: Upload to Google Drive
Google Slides pulls audio files directly from your Google Drive.
- Upload Your Files: Go to your Google Drive (
drive.google.com), click “+ New” (or “My Drive” -> “File upload”), and upload your recorded MP3 or WAV files. - Organize (Optional but Recommended): Create a dedicated folder in Drive for your presentation’s audio files (e.g., “My Presentation Audio”) and name them logically (e.g., “Slide01_Intro.mp3,” “Slide02_Agenda.mp3”).
- Set Sharing Permissions (Crucial!): This is a common pitfall. For others to hear your audio, the files must be shareable. Right-click on your audio file(s) in Google Drive, select “Share,” and change the access to “Anyone with the link – Viewer” or share with specific individuals or your organization’s domain. If this isn’t set correctly, your audience won’t hear a thing!
Step 3: Insert Audio into Google Slides
With your audio ready in Drive, it’s time to add it to your presentation.
- Open Your Presentation: Open the Google Slides presentation where you want to add the audio.
- Select a Slide: Navigate to the specific slide where you want the audio to play. Remember, you’ll generally add one audio file per slide if you want slide-specific narration.
- Insert Audio: In the top menu bar, click “Insert” then select “Audio.”
- Choose from Drive: A window will pop up showing your Google Drive. Locate and select the audio file you uploaded in Step 2, then click “Select.”
- Speaker Icon: A small speaker icon will appear on your slide. You can drag this icon anywhere on the slide to position it.
Step 4: Customize Playback Settings
Once inserted, you can fine-tune how your audio behaves during the presentation.
- Access Format Options: Click on the speaker icon on your slide. Then, in the toolbar, click “Format options” (or right-click the icon and choose “Format options”). A sidebar will open on the right.
- Audio Playback Controls:
- Start Playing: Choose “On click” (audience clicks the speaker icon to play) or “Automatically” (audio starts when the slide appears). For narration, “Automatically” is often preferred.
- Stop on slide change: For per-slide narration, you usually want the audio to stop when you advance to the next slide.
- Loop audio: Use this for background music that you want to repeat.
- Volume: Adjust the playback volume for the individual clip.
- Hide icon while presenting: If you want a cleaner look, you can hide the speaker icon during your presentation.
Troubleshooting Common Audio Issues in Google Slides
Even with the best preparation, you might encounter a hiccup or two. Here are solutions to common audio playback problems:
- “Audio not playing” or “File unavailable” errors: Double-check your Google Drive sharing permissions (ensure it’s “Anyone with the link – Viewer”). Also, verify the audio file hasn’t been moved or deleted from Drive after insertion.
- Autoplay isn’t working: Browsers sometimes block automatic audio playback. While “Automatically” usually works well on desktop (especially Chrome), some mobile devices or browsers might require a user click to initiate sound. You might need to instruct your audience to click the speaker icon.
- Poor quality or lagging audio: Large WAV files or high-bitrate MP3s can cause issues. Consider using smaller MP3 files (128-192 kbps mono) and keep clips concise. A slow internet connection can also be a culprit.
- Audio works for me but not for others: This almost always points to incorrect sharing permissions on the audio file in Google Drive. Test your presentation by sharing the link and opening it in an incognito window or a different Google account to simulate a viewer’s experience.
- Mobile viewers don’t hear audio: Mobile apps and browsers can have more limitations. If mobile viewing is critical, always test your presentation on target devices beforehand.
Pro Tips for Polished Voiceovers
As an expert with Ukrbl.com, I’ve learned a few tricks over the years that can significantly elevate your voiceovers:
- Consistent Pacing and Tone: Aim for a steady speaking pace and a consistent, enthusiastic tone. This keeps your audience comfortable and engaged. Avoid rushing or speaking too softly.
- Keep it Brief and Clear: Each slide’s narration should be concise, ideally under 60-90 seconds. Focus on the main point, then move on.
- Subtle Background Music: If using background music, ensure it’s instrumental and kept at a very low volume (10-15 dB below your voice) so it doesn’t distract from or mask your narration.
- Provide Transcripts: For maximum accessibility, consider adding a link to a Google Doc with your full narration script on your first or last slide. This benefits those with hearing impairments and allows others to review your content at their own pace.
- Test, Test, Test: Always run through your full presentation in presentation mode, listening to all audio clips. Have a colleague or friend review it as well.
Frequently Asked Questions (FAQ)
Can I record my voice directly in Google Slides without external apps?
No, Google Slides does not have a built-in feature to record per-slide audio directly. You must use an external voice recorder to capture your audio and then insert the saved files from Google Drive. Some Google Workspace editions offer a “Record slideshow” feature, but this creates a single video file of your presentation with narration, not individual audio files.
What are the best audio formats for Google Slides?
Google Slides primarily supports MP3 and WAV formats. MP3 is generally recommended due to its smaller file size and broad compatibility, while WAV offers higher uncompressed quality but results in larger files.
How do I make audio play across multiple slides?
For narration, it’s best to have a separate audio file for each slide set to “Automatically” play and “Stop on slide change.” If you need continuous background music, place a single long audio file on your first slide, set it to “Automatically” play, and uncheck “Stop on slide change” in the format options. However, this method can be tricky as the music might not perfectly sync with individual slide transitions.
What if my audio doesn’t play for others when I share my Google Slides presentation?
The most common reason is incorrect sharing permissions for the audio files in your Google Drive. Ensure that each audio file is set to “Anyone with the link – Viewer” or shared specifically with your audience members. If the presentation is shared but the audio files are restricted, no one else will hear them.
Is there a file size limit for audio in Google Slides?
Yes, Google Slides has a 100MB limit for individual audio files. While MP3s are usually well below this, large WAV files can exceed it. If your audio file is too big, you may need to compress it or split it into shorter segments.
Conclusion
Incorporating your voice into Google Slides presentations is a powerful way to engage your audience, clarify complex information, and create a truly memorable experience. While Google Slides doesn’t offer a direct built-in voice recorder, the process of using external tools, uploading to Google Drive, and inserting audio is straightforward and offers immense creative control. By following these steps and leveraging the pro tips from Ukrbl.com, you’ll be well on your way to crafting dynamic, voice-enhanced presentations that captivate and inform. So, grab your microphone, prepare your script, and let your voice bring your Google Slides to life!